

I visit the Banff and Canmore area every winter, usually around Christmas time in December, for ice walks, hiking, snowshoeing, and to enjoy other winter activities, so I have to dress for the weather. While not normal, one year it was so cold that even the Sunshine Ski Resort had to close during my stay.
Packing for a winter mountain walk takes more thought than dressing for a stroll around town, and it does vary depending on the activity. I visit places such as Lake Louise, Johnston Canyon, Banff, Canmore, Grotto Canyon, and nearby Kananaskis.
This Banff Winter Packing List covers day outings on established winter routes!
Banff Winter Walking Packing List at a Glance
| Category | What to include |
|---|---|
| Footwear | Winter walking boots and suitable socks |
| Traction | Microspikes and trail-appropriate traction devices |
| Clothing | Base layer, insulating layer and weather protection |
| Accessories | Warm hat, neck warmer, gloves and spare hand protection |
| Daypack | Food, water, spare layers and basic emergency essentials |
| Activity-specific equipment | Snowshoes, skates, cross country skis, poles or equipment supplied by a tour operator |
Winter Boots and Socks: Start with Your Feet
What to Look for in Winter Walking Boots
Discuss warmth, fit, grip, water resistance and compatibility with traction devices.
Boots for Winter Hikes
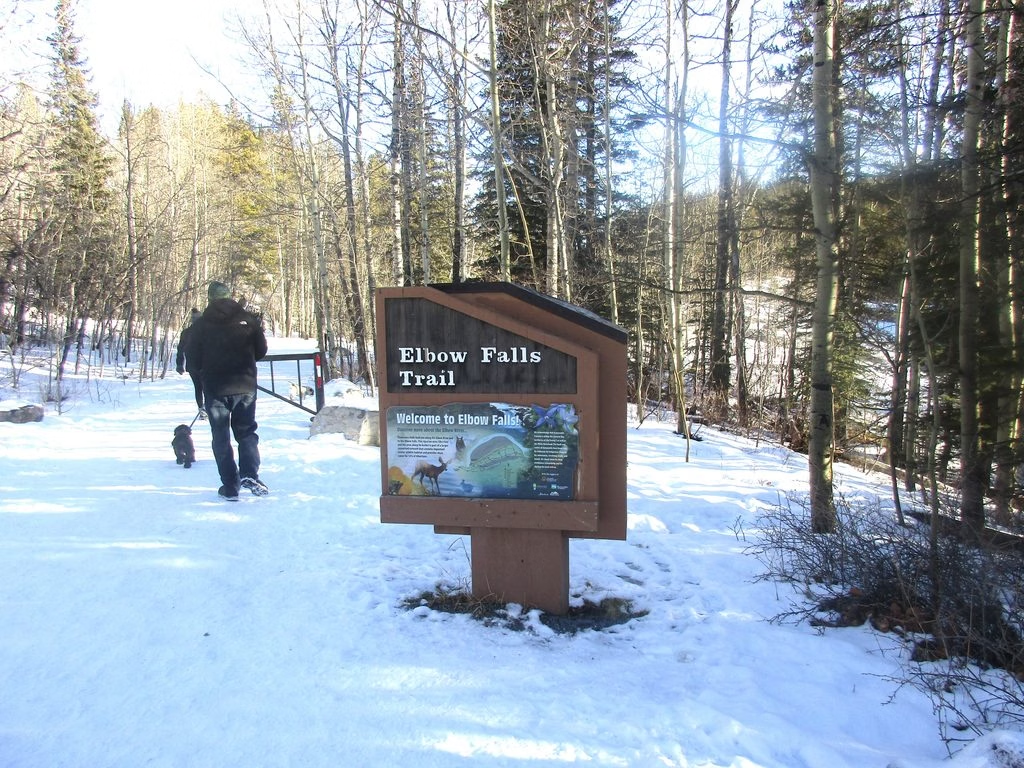
If on a short walk such as the Elbow Falls Trail or Johnston Canyon, I use my regular hiking boots.
But if it’s a longer winter hike (or snowshoe) where there is deeper snow, consider something like the comfortable NORTIV 8 Men’s Waterproof Hiking Winter Snow Boots. They feature advanced thermal insulation to keep your feet warm, slip-resistant soles for walking on snow or ice, and they are waterproof.
Socks for Winter Walks
A good pair of socks can make a big difference on a cold-weather walk. Merino wool or a wool blend is a useful choice for warmth and moisture management. Synthetic hiking socks are another practical option, particularly if you prefer wool-free fabrics. Avoid cotton socks, which absorb moisture and dry slowly.
Choose the thickness to suit your boots. Your toes should have room to wiggle, without your heel sliding around. Thicker socks aren’t automatically warmer; if they make your boots tight, they can restrict circulation and leave your feet feeling colder. Try your boots on with the socks you plan to wear.
For longer walks, snowshoe outings, or days when snow and slush could get into your boots, pack a spare pair in a waterproof bag. Changing out of damp socks can make the rest of the outing and the journey back much more comfortable.
I suggest the Danish Endurance Merino Wool Hiking Socks with Anti-Blister Padding. They will keep your feet warm because of the thick thermal merino wool and heavy cushioning. They should also stay dry as the breathable merino blend and ventilation wicks moisture and helps with airflow, helping prevent sweaty feet.
When Gaiters Are Useful
Gaiters are useful in deep or fresh snow, especially if you are breaking trail. Anything above ankle depth will work its way over your boot cuffs, melt, and soak your socks.
They are part of my kit when snowshoeing, as they kick snow up behind me with every step, so gaiters are a must. They are particularly helpful during shoulder-season hikes with slush, meltwater, or creek crossings over snow bridges. Gaiters keep your lower legs and boot tops drier, which matters for staying warm.
The Azarxis Hiking Gaiters for walking and backpacking are a good choice. They are breathable, lightweight, and waterproof.
Do You Need Ice Cleats or Microspikes?
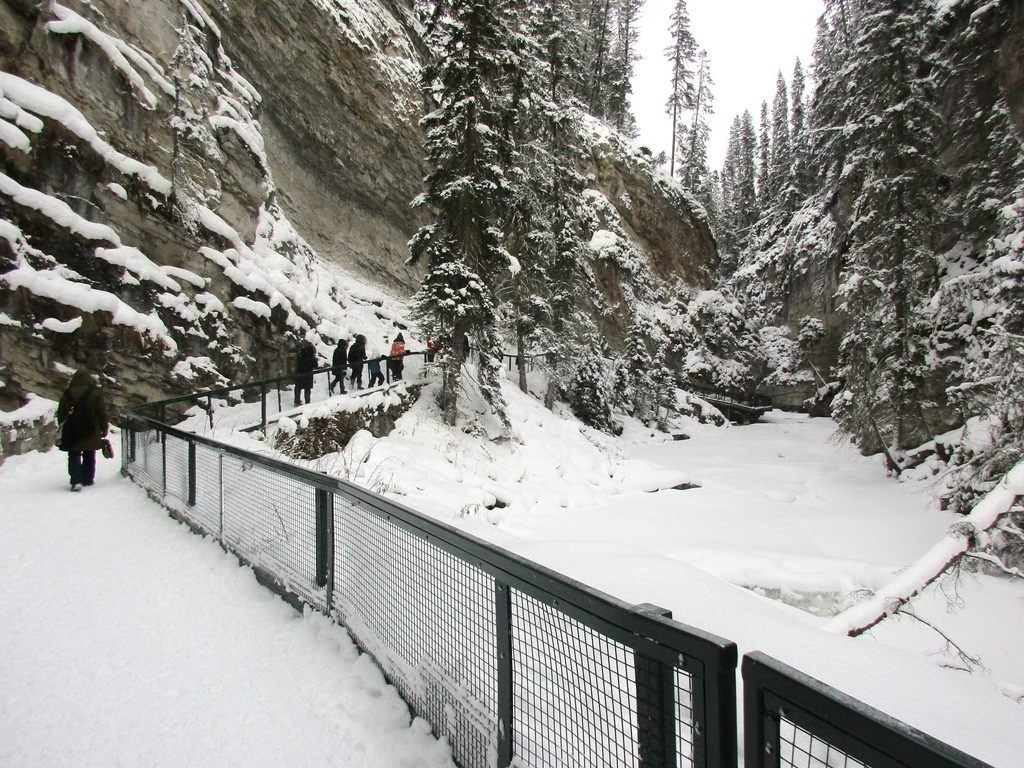
If you are planning on hiking Grotto Canyon near Cammore or even Johnston Canyon in Banff, you need them. On the way to the Lower Falls at Johnson Canyon, there are a few snow-covered slight inclines, and while you can hang on to the railings for dear life, having microspikes is preferred.
Microspikes (also known as ice cleats or icers) can also be useful for basic traction around town along icy sidewalks. Before purchasing, ensure they are compatible with your boots and practice fitting them on before your first hike. If going on a guided ice walk, most tour operators include them.
Where I used icers is explained on the Grotto Canyon vs Johnston Canyon trip.
How to Dress in Layers for Winter Walking
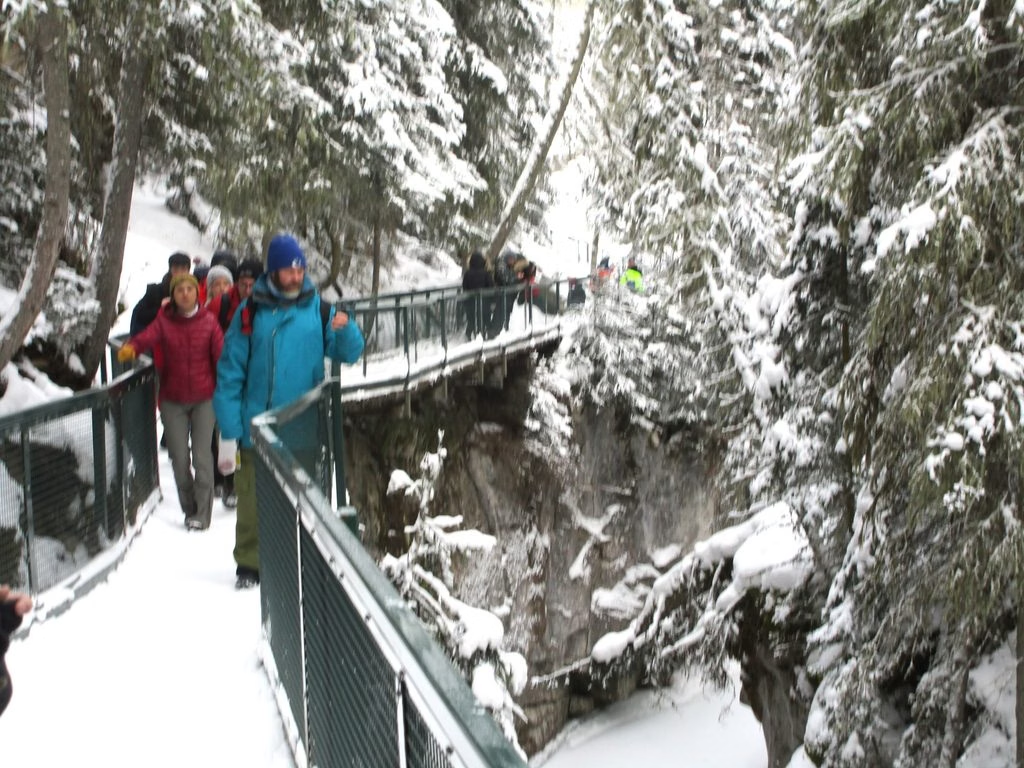
When I was younger and first started winter hiking, I thought wearing a heavier coat was the way to go, but have since learned the importance of dressing in layers.
Base Layer: Managing Moisture
Your base layer helps move perspiration away from your skin. For winter walks around Banff and Canmore, choose merino wool or synthetic fabric, such as polyester. Merino offers warmth and resists odours, while synthetics generally dry quickly and often cost less.
Choose a comfortable, close fit that allows you to move freely. A lightweight or midweight long-sleeved top is a useful starting point; thermal bottoms can add warmth beneath your walking trousers on colder days. Avoid cotton, which holds moisture and can leave you feeling chilled once you stop.
Midlayer: Warmth While Moving
Your midlayer traps warm air. A fleece is a practical option for active walking and snowshoeing because it provides insulation while allowing moisture to escape. A full-length zip makes it easy to release heat as you warm up.
An insulated jacket adds warmth during slower outings, lunch breaks, and photo stops. Down packs small and provides excellent warmth for its weight, while synthetic insulation generally handles damp conditions better. Depending on the weather and your pace, you might walk in fleece and carry a warmer jacket for stops.
Outer Layer: Wind and Weather Protection
Your outer layer protects you from wind, falling snow and wet weather. Look for a windproof, waterproof shell with a hood, enough room for your other layers and ventilation zips if possible. An uninsulated shell provides weather protection; the layers underneath supply most of your warmth.
For your legs, weather-resistant winter walking trousers may suit dry conditions, while waterproof overtrousers provide extra protection in wet snow or strong wind.
Extra Insulation for Stops
Adjust your layers before you become sweaty or chilled. Unzip or remove a layer as you warm up, then add insulation when you stop. The right combination depends on the temperature, wind and how hard you’re working, not simply how many layers you can put on.
Hats, Gloves and the Small Items That Matter
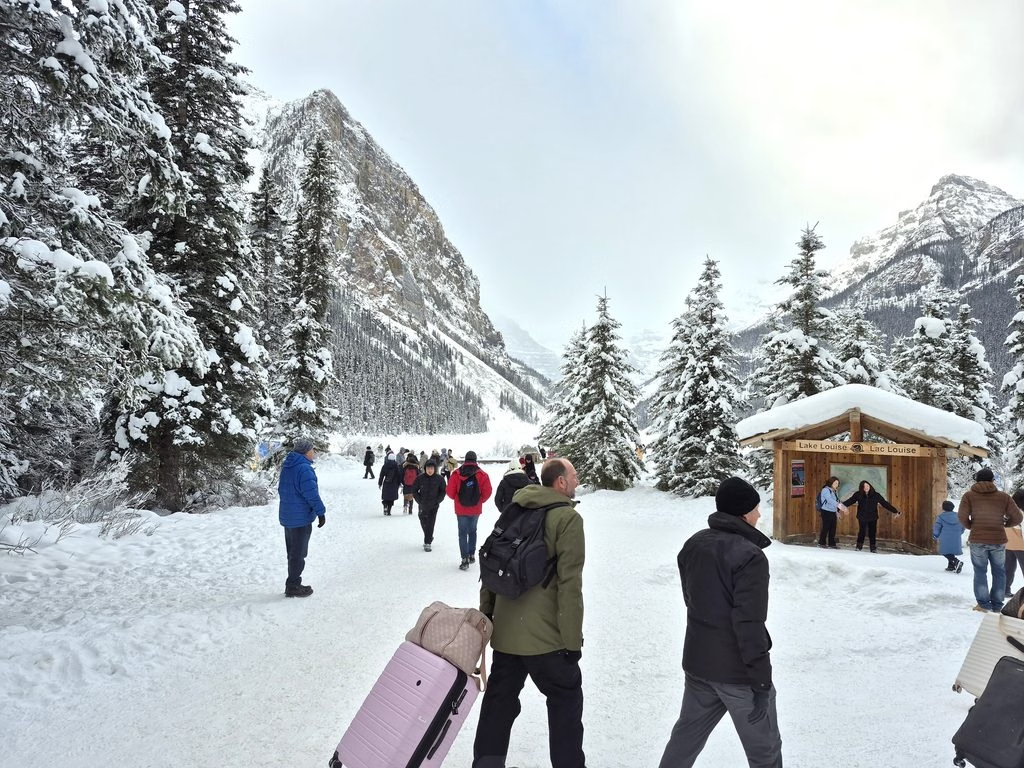
Warm hat: there are 2 types to consider. A Balaclava that is wind-resistant and also acts as a neck warmer, or a beanie (toque) with ear flaps.
Gloves or mittens: you want a pair of gloves with a thermal lining that is water-resistant and lightweight, and that is also touchscreen-compatible for handling your phone or taking those great photographs. While I have never used them myself, many hikers also pack hand warmers.
Sunglasses and sunscreen: yes, you need these even for winter activities as the sun reflects off the snow. People always comment on my red face after a hike as I often forget about this.
What to Carry in Your Winter Daypack
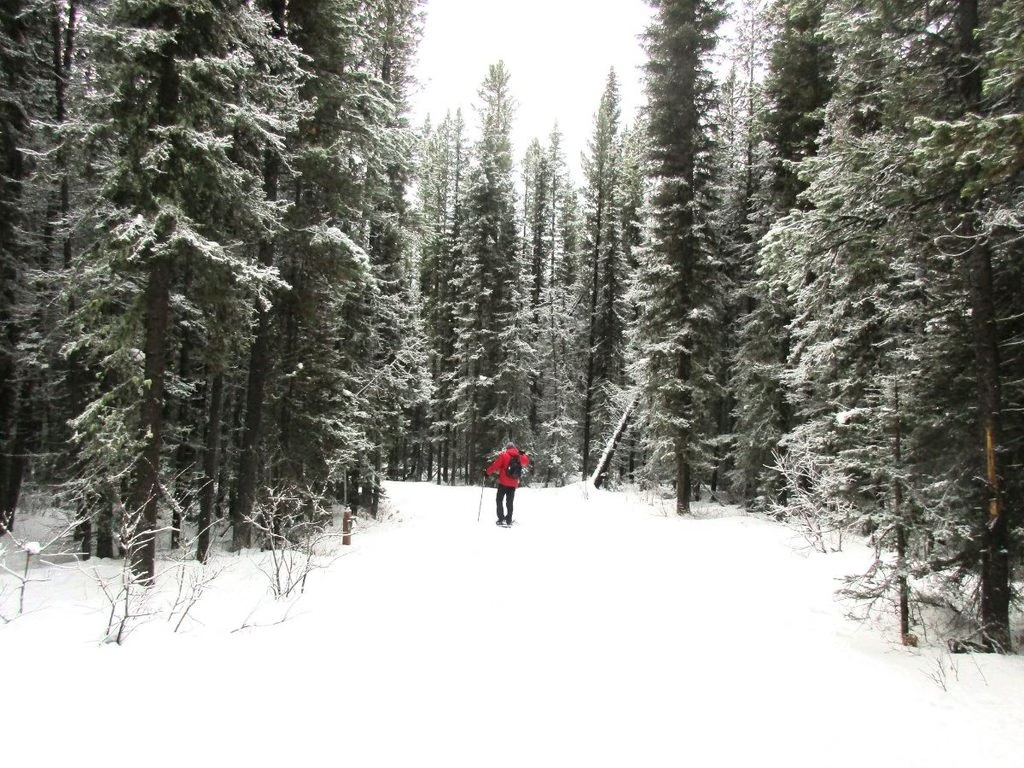
Comfort and energy: water, snacks, maybe lunch, spare layers and a small pad for sitting on the snow (I find most people forget this).
Navigation and communication: downloaded route information, phone and backup power. Where I hike, there is no internet, so I bring a paper route map as a backup.
Emergency essentials: headlamp, first-aid supplies, emergency shelter and whistle. These are not only essential during the hike but to have in your car for winter driving.
What Changes for Each Winter Activity?
| Activity | Focus |
|---|---|
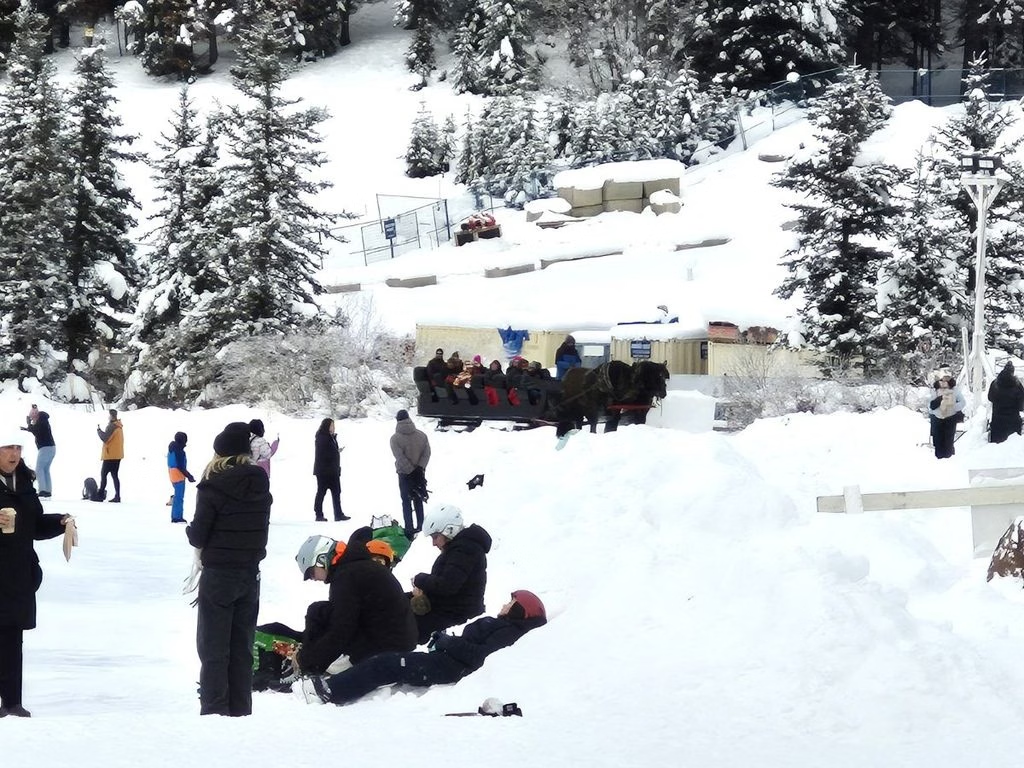
| Sleigh Ride at Lake Louise | Dress warmly for this short ride, and consider it may be windy. |
| Outdoor Skating | Clothing for a more active outing. |
| Short Winter Walks | Maintaining warmth and adjusting footwear and traction to conditions. May require microspikes and hiking poles. |
| Canyon Ice Walks | Consider microspikes, walking poles and checking tour equipment inclusions. |
| Snowshoeing in Kananaskis | Snowshoes, poles, gaiters and clothing for a more active outing. |
| Cross-country skiing in Kananaskis | Skis, poles, and clothing for a more active outing. |
What to Buy, Rent or Borrow
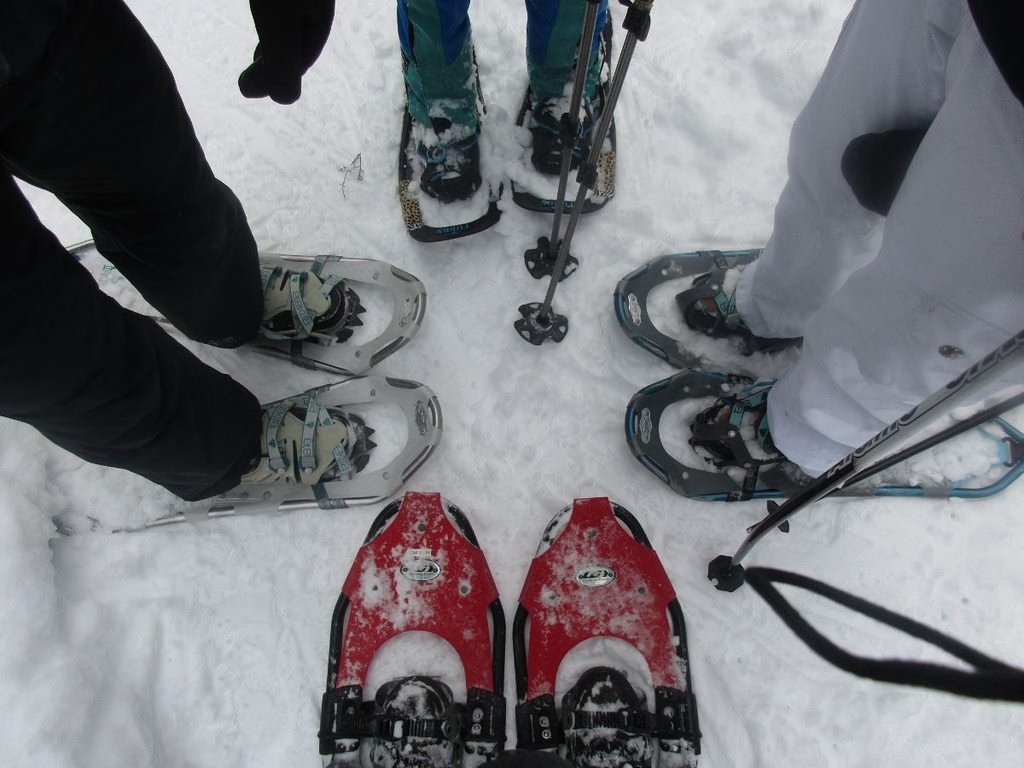
If you already have the items, then you can bring them from home. If new or if you only do the activity occasionally, I recommend renting to see what works best for you and avoid unnecessary purchases.
Guided tours may include some items such as microspikes.
The University of Calgary Outdoor Centre rents winter equipment including snowshoes and cross-country skis. You do not have to be a student and must reserve online in advance. Banff Adventures also rents equipment.
Guided Tours
Sunshine Meadows Snowshoeing: Explore the winter backcountry of Canada on this guided snowshoeing experience at Sunshine Village Ski Resort in Banff National Park.
Canmore/Banff Snowshoeing: Guided in Kananaskis, including snowshoes.
Snowshoeing Tour in Kootenay National Park: Guided from Banff
Horse-Drawn Sleigh Ride: Family-friendly from Banff
Lake Louise Natural-Ice Skating Tour: From Banff including skates
Winter Nature Walk: from Banff with ice cleats included
Beginner Ice Climbing Class: from Banff on a frozen waterfall
My Winter Walking Outfit and Daypack
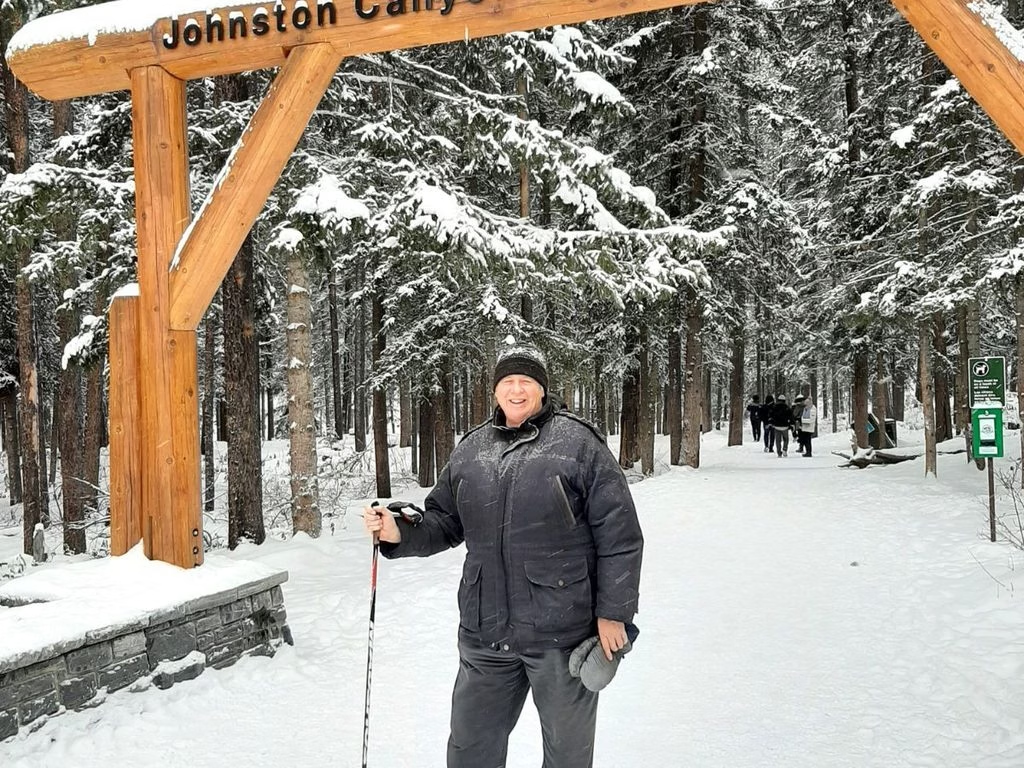
In the photo, I am setting out on the Johnston Canyon Trail. Not in the photo are the microspikes, daypack, and I like to use poles when hiking.
For most winter day walks around Banff and Canmore, a 20–30 litre backpack is a practical size. It should hold your spare warm layer, waterproof shell, water, food, traction devices and basic emergency essentials without everything being tightly squeezed in.
A 15–20 litre pack may be enough for a short walk close to town. For a longer outing, snowshoeing or particularly cold weather, 25–30 litres gives you more room for bulky clothing and spare gloves. Choose capacity based on what you need to carry, rather than leaving essentials behind to fit a smaller bag.
Common Winter Packing Mistakes
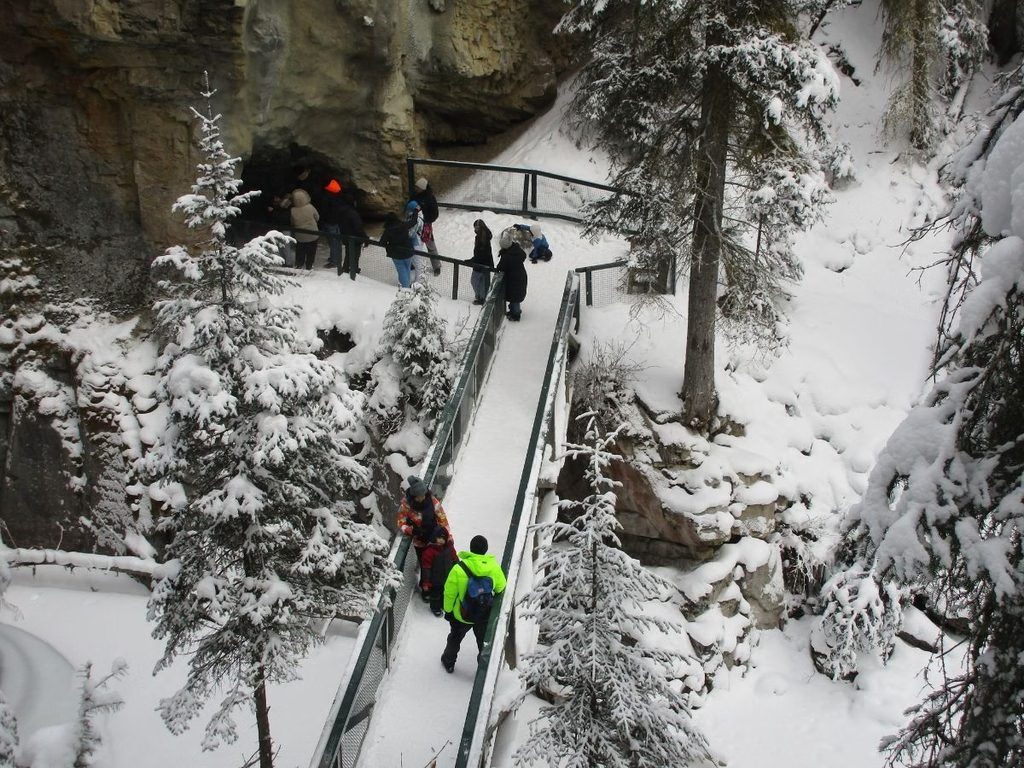
Forgetting to pack a warm layer when you stop and you tend to get cold quickly. I take short breaks and, for lunch if really cold, will have several short lunch stops.
Leaving my icers (microspikes) behind because the trail does not look too bad at the start but wish I had them further along. I should know better and still do this all the time.
Wearing so much clothing that you overheat while moving. Do dress in layers because even in cold weather it is surprising how fast you warm up once you leave the parking lot. Dress in layers.
Choosing boots that become tight as you are wearing thick socks.
Relying on a phone without backup power or downloaded information. You may not have internet service in some wilderness areas. I frequently take a paper map as backup.
When on a guided trip, do not assume the tour operator supplies every item you need; check before you go.
Before You Leave: Check Conditions and Equipment
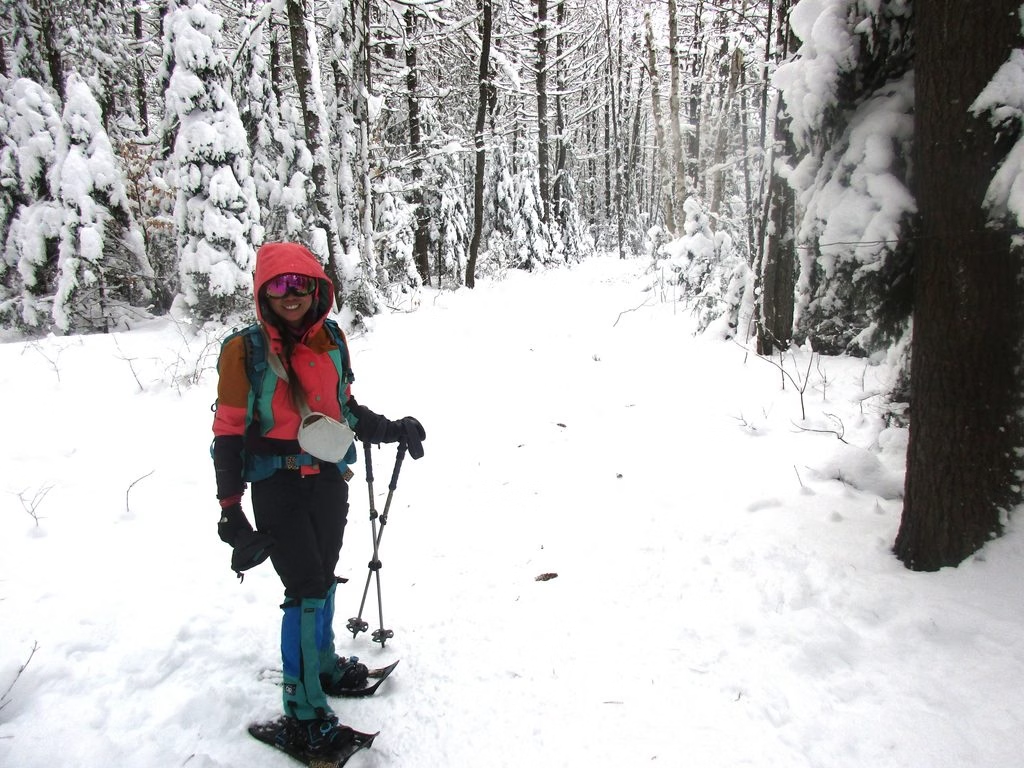
Before you head out, check:
- Expected weather conditions, especially if snow is in the forecast.
- There is less daylight in winter, so plan to return in time; leave extra time in case you run into a delay. Alberta will observe Daylight Saving Time year-round beginning November 1, 2026.
- What is the trail status? Will it be icy (need microspikes), or when I went snowshoeing in Kananaskis I was first on the trail that day, and it was snowed over, so take care when following the route.
- If on a guided trip, check the tour instructions regarding the meeting location and what to bring.
FAQs: Banff Winter Packing List
Can you wear regular hiking boots in Banff in winter?
Depending on where you are walking and for how long. Generally yes, but you may also require microspikes.
Do you need snowshoes for every winter walk?
No, for many winter walks you are following trails packed down by other walkers. Instead of snowshoes, you may require microspikes.
Are ice cleats supplied on guided canyon walks?
Most tour operators supply ice cleats on the guided canyon walks.
What should you wear snowshoeing in Kananaskis?
You should wear layers of clothing as you will warm up after leaving the parking lot, as it is a bit of a workout. You will cool down quickly during break and lunch stops.
How big a daypack do you need?
For most winter day walks around Banff and Canmore, a 20–30 litre backpack is a practical size. It should hold your spare warm layer, waterproof shell, water, food, traction devices and basic emergency essentials without everything being tightly squeezed in.
What should you pack for Banff in December?
Spare clothing, emergency shelter, water, snacks, cell phone, spare socks.
Final Thoughts: Banff Winter Packing List
There are many winter activities available in the Banff and Canmore area, but planning is essential as the weather can quickly change. Enjoy your time outdoors!


